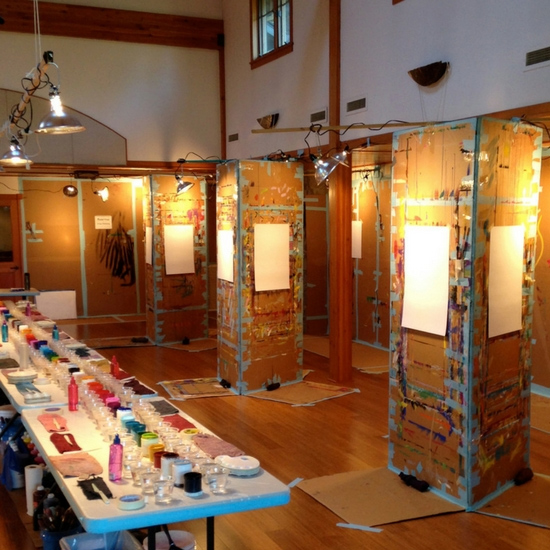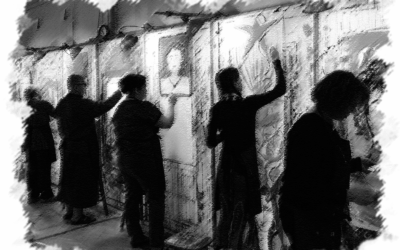
Many painters and teachers ask us about the construction of The Painting Experience’s cardboard tripod easels. These big, sturdy tripods have many advantages: They’re easy to set up; they collapse for easy storage; and when their lives are over, they can be recycled. We have cardboard stored all over the country — thanks to the many facilities and participants who are willing to make space for it — so we can reuse it from year to year.
Stewart worked out this construction years ago, using only cardboard and tape from Uline.
This is what you need:
- Cardboard: S-13745 Cardboard 3 ft x 8 ft. Be forewarned that if you want to build only one tripod, the cost of shipping cardboard from Uline will be greater than the cardboard itself. If you don’t want to make that investment, you can look for other sources of cheap, local cardboard. Two places to check are appliance stores or outlets (think refrigerators) or framing shops. You can also use tape to join large pieces of cardboard together to make the size you want. For example, if you look closely at the photo above, you’ll see that a couple of the tripods have a horizontal strip of tape 3/4 of the way down the wall. That’s because it’s a smaller piece of cardboard joined to a 6′ sheet to make the 8′ piece.
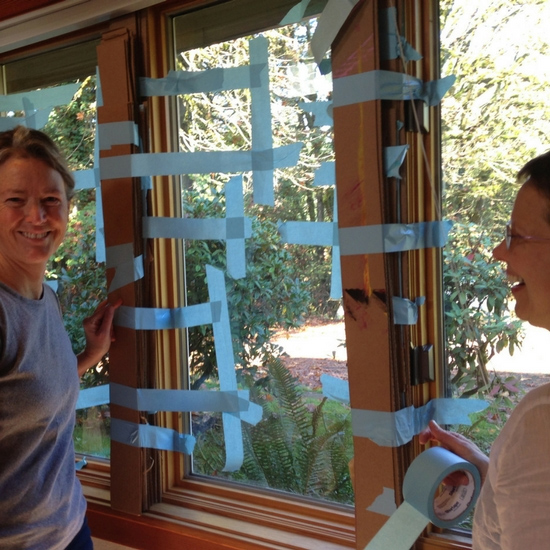
- Tape: S-2491 Blue Tape. We recommend this particular tape if you are putting together a whole studio, not just tripods, because it’s the only tape we’ve found that will hold well without pulling paint off of surfaces like walls. (We sometimes feel like we hold the world together with this blue tape, as you can see from the photo below. Here, Molly and Anne are working on covering a window with cardboard to make extra painting spaces in a big studio.) The downsides are that you have to order a case at a time and it’s a bit pricey. If you’re assembling tripods only, any decent quality clear packing/mailing tape will do the job for you.
 Making a Tripod Easel
1. Build the walls. To make the three walls, you’ll need at least 12 sheets of 3′ x 8′ cardboard. For each wall, press together 4 sheets of cardboard with the smooth sides facing out, and bind them all the way along the edges with one or more strips of tape. For even sturdier walls, use five sheets of cardboard per wall, for a total of 15 sheets. (If you use fewer than 4 sheets per wall, the cardboard will bend and warp.)
2. Set up the tripod. To construct the tripod itself, stand the three walls up and tightly bind the seams together with tape. (It’s easiest to do this with two people!) For extra support, you can add some horizontal tape strips to the seams, as you see in the photos here.
3. Add drip mats. Finally, you may want to lay down a cardboard drip mat in front of each side of the tripod by getting an extra sheet of cardboard, cutting it in thirds, and taping a piece to the bottom of each wall.
4. How to dismantle the tripod. When dismantling the tripods, if you want to use them again in the future, you can detach just one of the walls. The other two will fold against each other and then all three can be stacked for easy storage. Leaving two of the walls taped together makes it much easier to set up the tripod next time.
Happy painting!


